If you’ve ever scrolled through skincare content and wondered how some people achieve that impossibly smooth, light-reflective complexion, you’ve likely encountered the glass skin trend. The good news? This coveted look isn’t reserved for K-pop idols or filtered photos. With the right glass skin routine and realistic expectations, you can work toward skin that looks clearer, more hydrated, and genuinely radiant.
This guide breaks down exactly how to get glass skin through evidence-based steps, lifestyle adjustments, and practical tips tailored to different skin types. We’ll cover how to achieve glass skin in steps, how long it really takes, and what separates marketing hype from science-backed skincare.
What is glass skin? (And is glass skin real?)
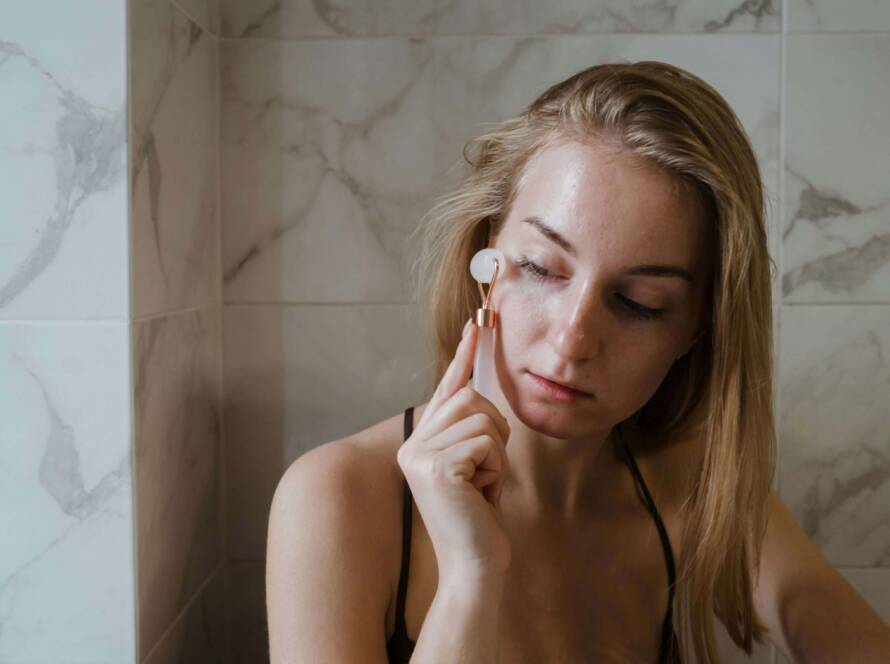
Glass skin refers to a complexion that appears poreless, exceptionally smooth, deeply hydrated, and reflective—like a sheet of glass catching light. Unlike a greasy or oily finish, the glass skin glow comes from intense moisture within the skin rather than surface shine.
This aesthetic emerged from Korean glass skin traditions and K beauty routines that prioritize prevention and barrier health over heavy makeup. The trend surged globally in the late 2010s through social media, with K-pop idols showcasing luminous natural skin that seemed to glow from within.
Key characteristics of glass skin:
-
Clear, even skin tone with minimal dark spots or redness
-
Smooth texture free of rough patches or visible dull skin
-
Intense hydration that creates a plump, bouncy appearance
-
A radiant glow that reflects light evenly across the face
-
A strong skin barrier that retains moisture and calms irritation
Is glass skin real?
Yes and no. You can absolutely achieve a healthy glow and improve your skin texture dramatically. However, the glass like skin you see in photos often involves professional lighting, filters, and genetics. Everyone has pores—they’re essential skin features that can’t be eliminated, only minimized in appearance through balanced oil control and proper hydration.
The realistic goal isn’t Photoshop perfection. It’s healthier, more radiant natural skin that looks its best. Whether you have dry skin, oily skin, acne scars, or mature skin, you can adapt a glass skin routine to work for your specific needs.

How to achieve glass skin in steps (core routine)
This is the main glass skin routine framework—a 6-8 step process focused on realistic, evidence-based skincare rather than trendy shortcuts. Think of each step as building toward that radiant complexion layer by layer.
The core glass skin steps (AM/PM variants):
-
Step 1: Double cleanse – Remove makeup, SPF, and daily debris for a clear canvas
-
Step 2: Gentle exfoliation – Remove dead skin cells for smooth skin and improved light reflection (2-3x weekly)
-
Step 3: Hydrating toner/essence – Boost water content for dewy skin and plumpness
-
Step 4: Targeted serum – Address specific concerns like hyperpigmentation, fine lines, or dullness with active ingredients
-
Step 5: Moisturizer – Seal in hydration and support the skin barrier
-
Step 6: SPF (AM only) – Protect against UV damage that causes premature aging and dark spots
Each step builds on the previous one. Cleansing creates clarity. Exfoliation improves skin texture and glow. Hydrating products create that bouncy, plump look. Actives like vitamin C address uneven tone and hyperpigmentation. SPF preserves your progress long-term.
The order matters: apply products from thinnest to thickest texture, and adjust frequency of actives based on your skin type and tolerance. Let’s break down each step in detail.
Step 1: Double Cleanse For A Clear, Reflective Canvas
Double cleansing is foundational for achieving glass skin because it ensures your face is truly clean—not just surface-level clean. When sunscreen, makeup, excess sebum, and pollution sit on your skin, light can’t reflect evenly, and your other skincare products can’t penetrate properly.
First cleanse: Oil-based cleanser
-
Use an oil based cleanser, cleansing balm, or micellar water on dry skin
-
Massage for 30-60 seconds to dissolve SPF, remove makeup, and break down sebum
-
Add water to emulsify (the product should turn milky), then rinse thoroughly
-
This step handles oil-soluble impurities that water alone can’t remove
Second cleanse: Water-based cleanser
-
Follow with a gentle cleanser (gel or cream formula) suited to your skin type
-
Look for low pH (~5.5) formulas to maintain your skin’s ph levels
-
Choose fragrance-free options for sensitive skin
-
Look for beneficial ingredients: glycerin, panthenol, centella asiatica
-
Avoid harsh sulfates and high alcohol content that strip the skin barrier
Frequency guidance:
-
Double cleanse every night if you wear SPF or make up
-
Single gentle cleanse in the morning for most people (over-cleansing can damage barrier)
Mini checklist: After cleansing, your face should feel clean and soft, not tight or squeaky. If your skin looked parched or uncomfortable, your cleanser may be too harsh.
Step 2: Exfoliate Strategically For Smooth, Glass-Like Texture
Exfoliation is what creates that glass like glow—by removing dull, dead skin cells, you reveal the smoother, more light-reflective skin underneath. However, this step requires strategy. Over-exfoliation is one of the fastest ways to destroy your glass skin goals.
Chemical vs. physical exfoliation:
Gentle exfoliating acids are generally preferred over gritty scrubs. Physical scrubs can create micro-tears and trigger post-inflammatory hyperpigmentation, especially on darker skin tones. Chemical exfoliants work by dissolving the bonds between dead cells, allowing them to shed naturally.
Types of gentle exfoliation:
-
Alpha hydroxy acids (AHAs) – Glycolic acid and lactic acid work on the skin’s surface. Best for dull skin, dry skin, and improving overall radiance. Glycolic acid is more potent; lactic acid is gentler for beginners.
-
Beta hydroxy acids (BHAs) – Salicylic acid penetrates into pores, making it ideal for acne-prone and oily skin types. It helps deep clean clogged pores and reduce breakouts.
-
PHAs (polyhydroxy acids) – Larger molecules that work more slowly and gently, suitable for sensitive skin and rosacea-prone complexions.
Frequency by skin type:
-
Sensitive/rosacea-prone: 1x per week maximum
-
Normal/combination: 1-2x per week
-
Very oily/acne-prone: 2-3x per week (with careful monitoring)
Warning signs of over-exfoliation:
-
Stinging or burning when applying products
-
Increased redness or sensitivity
-
Skin feels tight despite moisturizing
-
More breakouts than usual
-
Visible peeling or flaking
If these occur, pause all actives immediately and focus on barrier repair with ceramide-rich moisturizers and fatty acids until skin recovers. Less is more for long-term glowing skin.
Timing with other actives: If you use retinoids, avoid exfoliating on the same night. Alternate nights until your skin builds tolerance.
Step 3: Hydrating Toners & Essences For Plump, Dewy Skin
This step is the heart of the glass skin philosophy—the “hydration sandwich” that boosts water content in your skin and creates that characteristic plump, dewy finish.
Understanding the difference:
-
Toner: Rebalances pH after cleansing and provides the first layer of hydration. Modern hydrating toners are very different from the astringent toners of the past.
-
Essence: A lightweight treatment with concentrated humectants and botanical extracts. Slightly more viscous than toner, often with additional active ingredients.
Key ingredients to look for:
-
Multiple weights of hyaluronic acid (for surface and deeper hydration)
-
Glycerin and panthenol (humectants that draw water into skin)
-
Beta-glucan (soothing and moisture-binding)
-
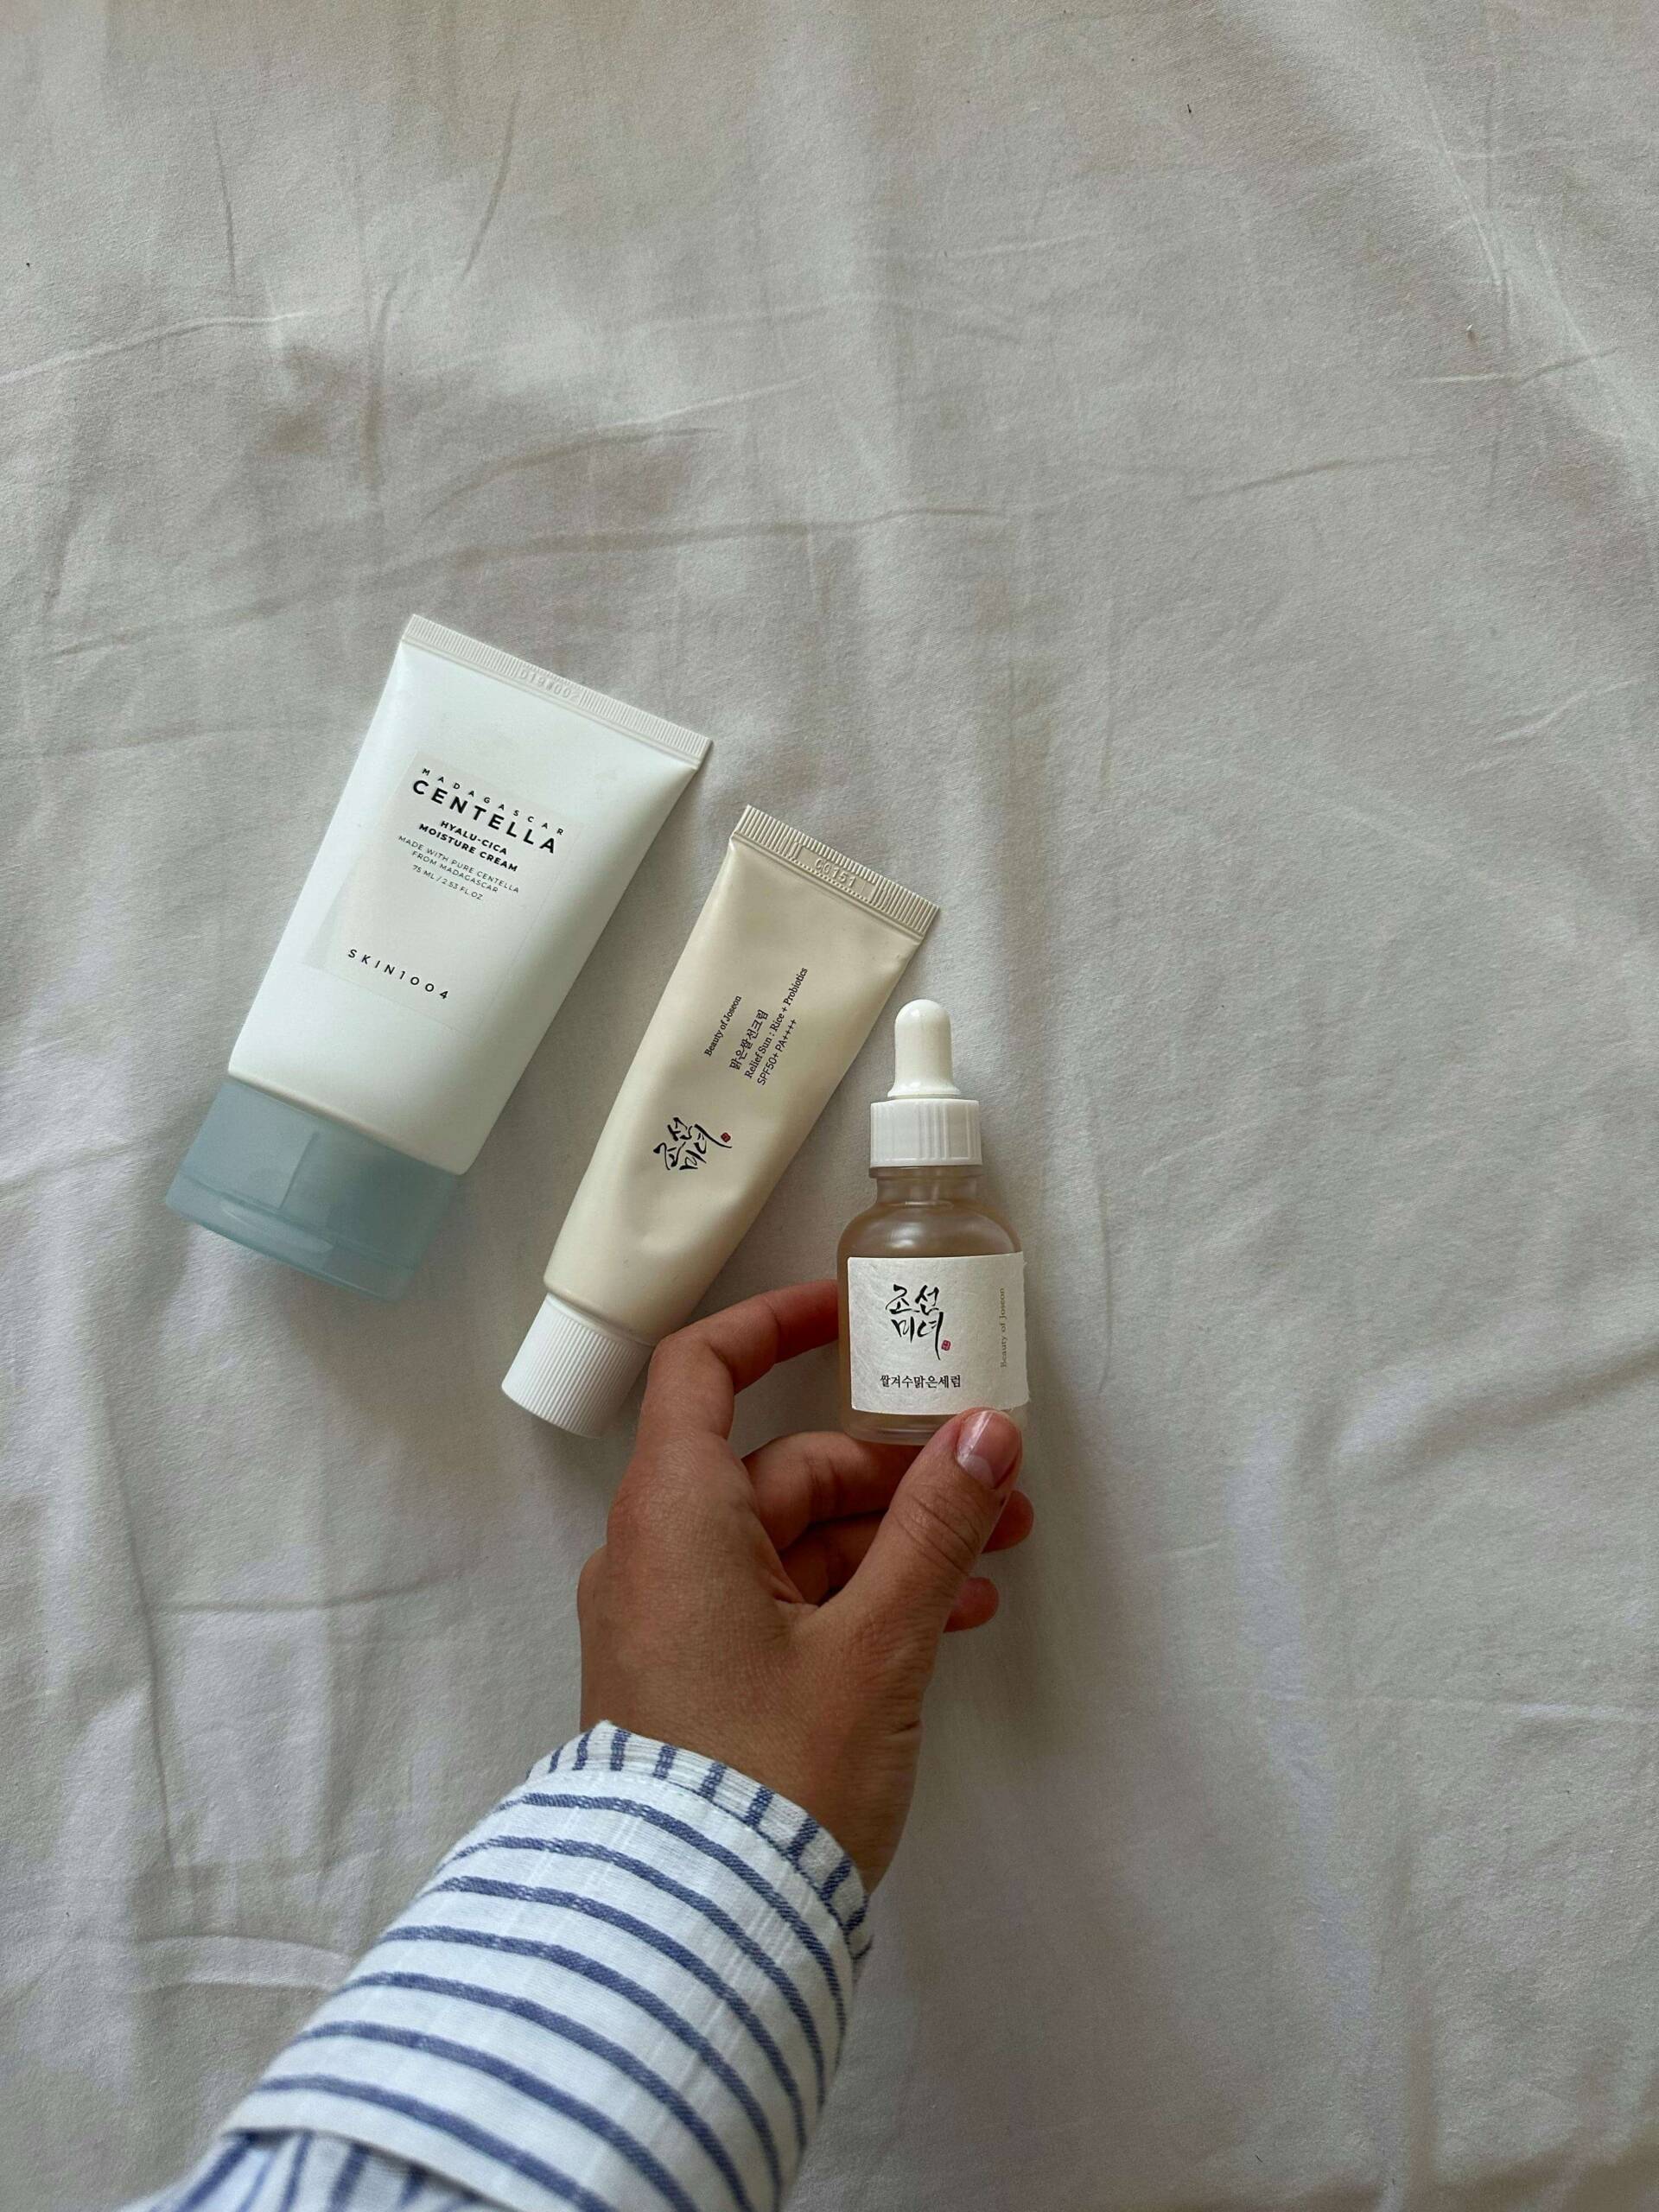
Rice extract and fermented ingredients (brightening, glass skin staples)
-
Green tea and centella asiatica (calming, anti-inflammatory)
Application technique:
-
Pour a few drops into clean hands or onto a reusable cotton pad
-
Press gently into damp skin (never rub aggressively)
-
The “7 skin method” involves applying multiple thin layers—start with 2-3 layers maximum as a beginner
-
Allow each layer to absorb before applying the next
This step pairs well with brightening vitamin C serums for addressing uneven tone and hyperpigmentation.
What to avoid: Alcohol-heavy, astringent toners that strip moisture. These undermine glass skin goals entirely, especially for dry skin or sensitive skin types.
Step 4: Targeted Serums (Vitamin C, Niacinamide & More)
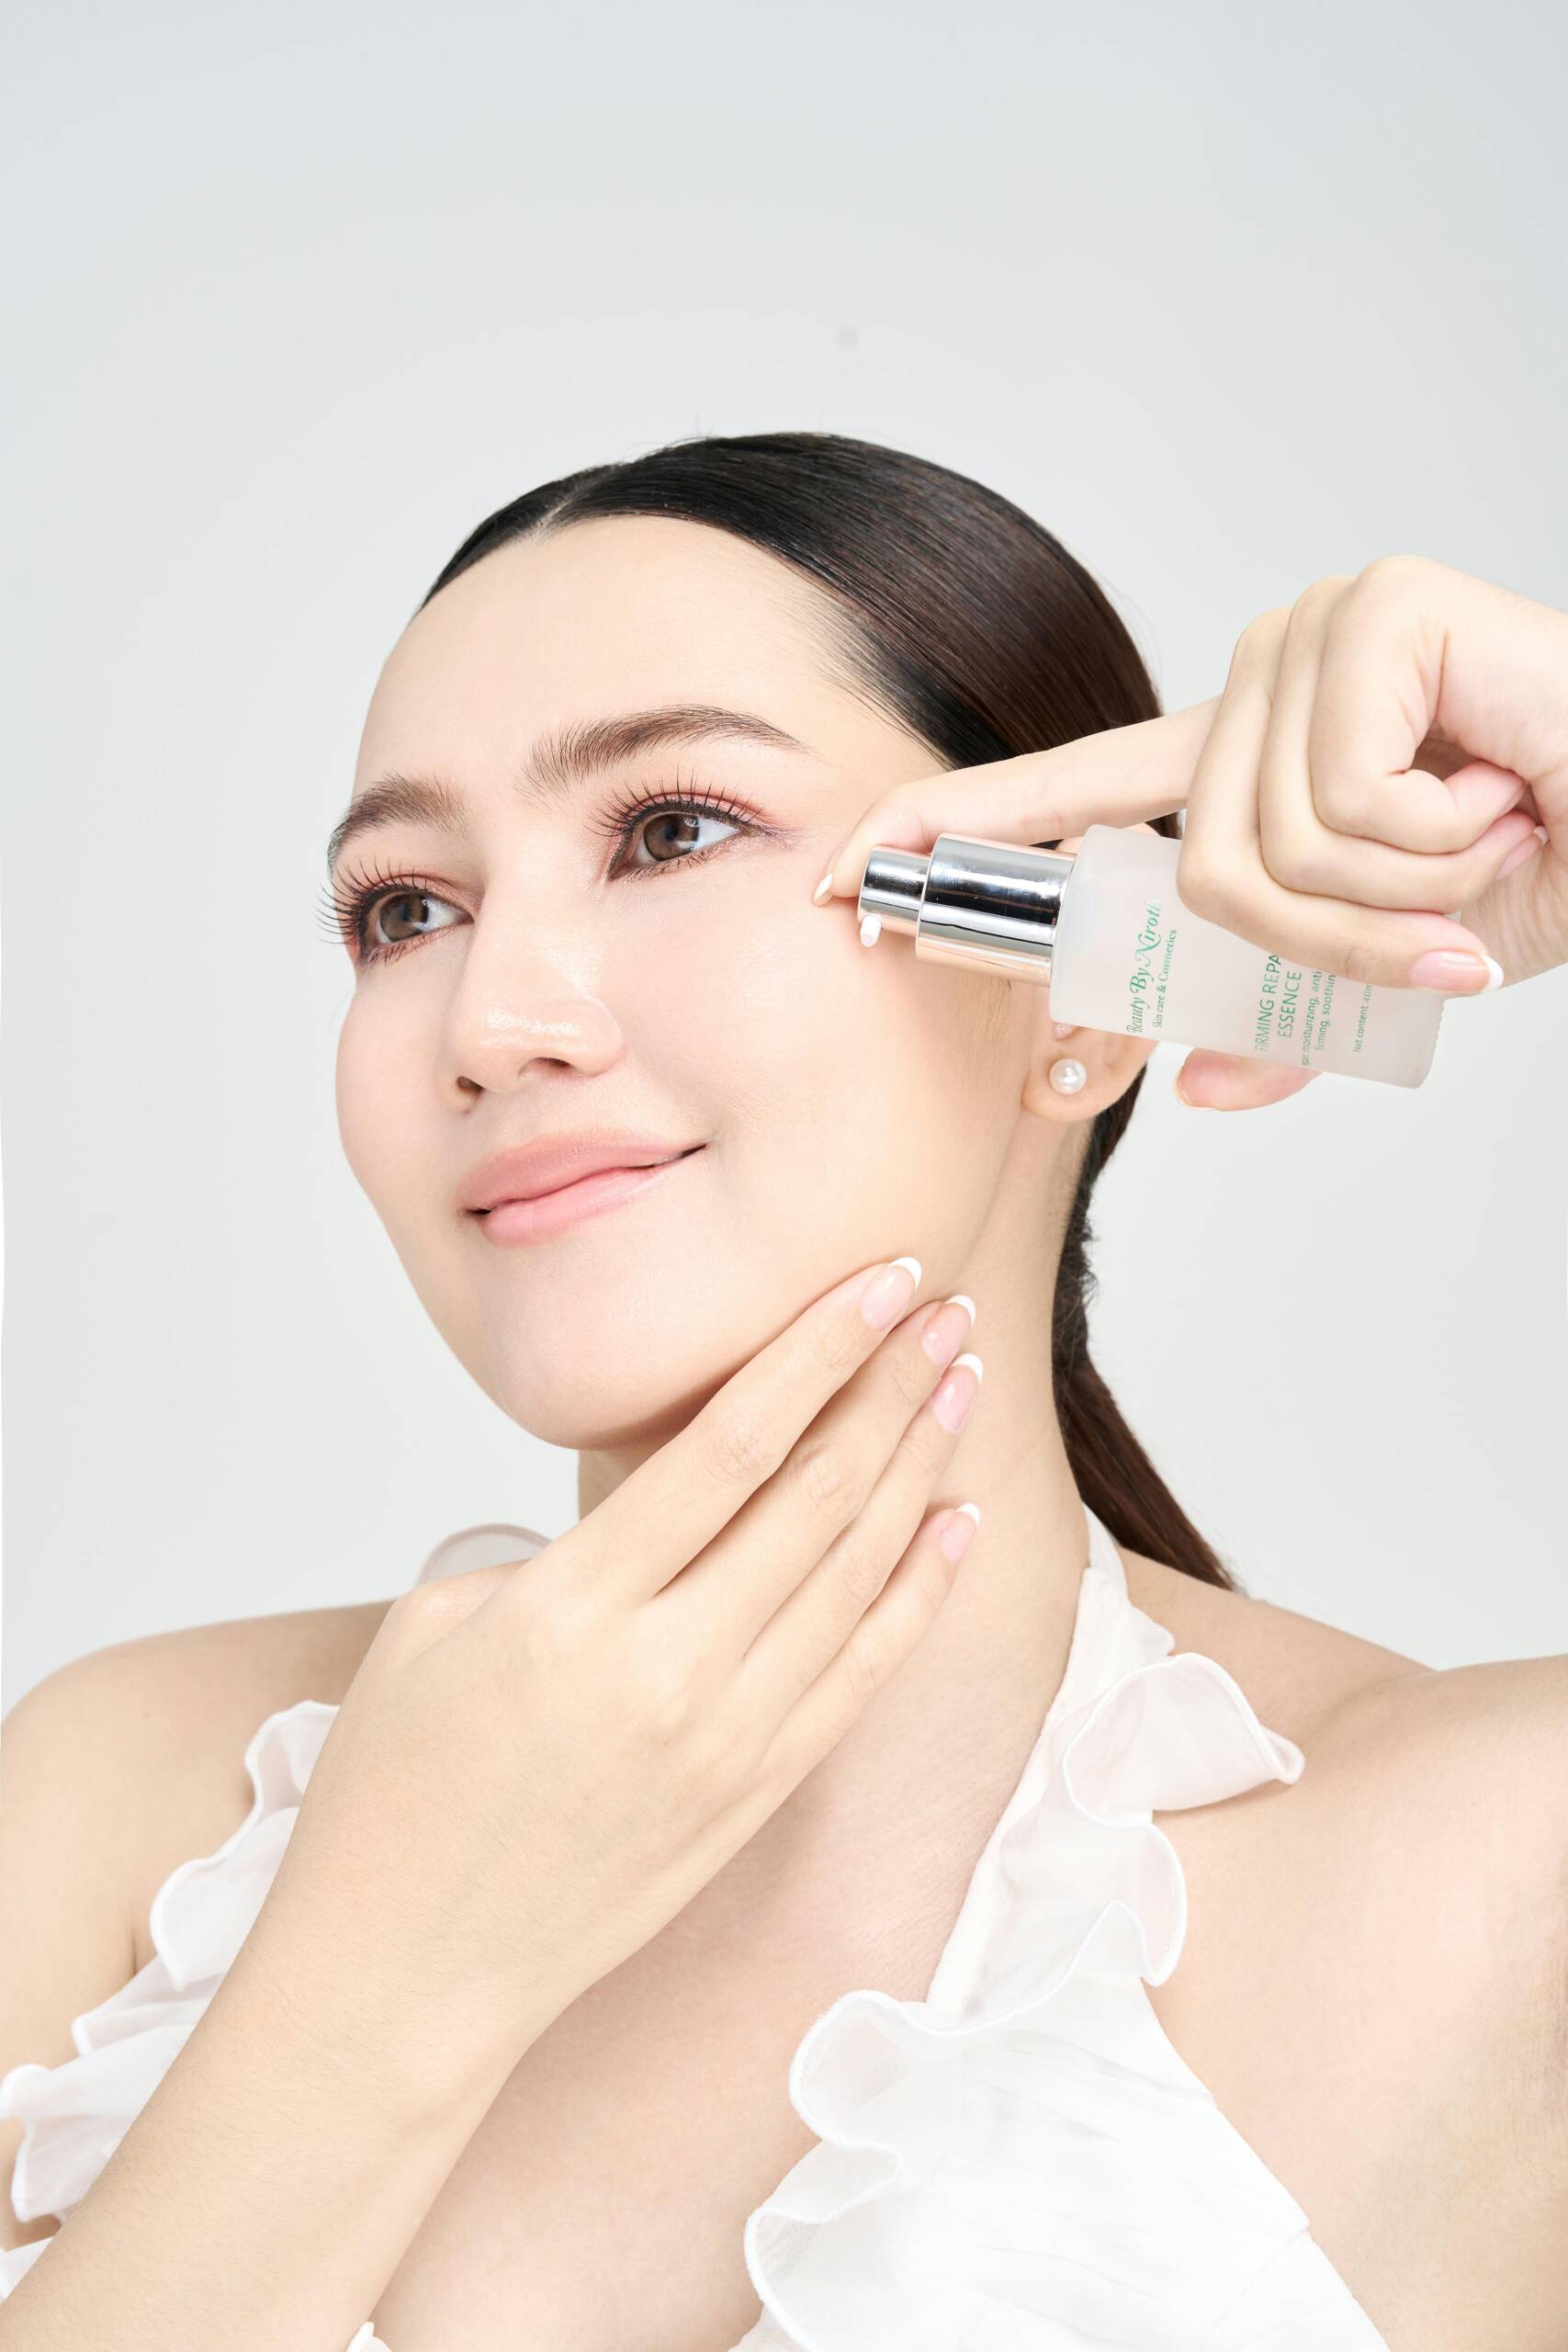
Serums are the engine room of your glass skin routine—concentrated active ingredients that address specific concerns like dark spots, acne, redness, and fine lines. A hydrating serum or treatment serum can dramatically accelerate your results.
Essential serum types for glass skin:
Vitamin C:
-
Brightens dull skin and fades hyperpigmentation
-
Provides antioxidant protection against environmental damage
-
Supports collagen production for firmer skin
-
Best used in the morning under SPF
-
Look for stabilized forms (L-ascorbic acid, ascorbyl glucoside) in opaque packaging
-
A few drops applied to cheeks, forehead, and nose can boost radiance significantly
-
Refines enlarged pores and balances oil production
-
Strengthens the skin barrier and reduces fine lines
-
Improves overall radiant glow and improves texture
-
Works well for all skin types, including sensitive skin
-
Can be layered with most other actives
Hyaluronic acid:
-
Delivers deep hydration for plump, bouncy skin
-
Best applied to slightly damp skin, then sealed with moisturizer
-
Multi-weight formulas provide both surface and deeper hydration
Retinoids/Retinol (PM only):
-
Gold standard for texture, fine lines, and uneven skin tone
-
Helps reduce fine lines and early signs of aging
-
Introduce slowly (1-2x weekly) to avoid irritation
-
Always use with SPF the following day
Important guidelines:
-
Don’t layer too many strong actives at once, especially on acne-prone or sensitive skin
-
Simple framework for intermediate users: AM = vitamin C + SPF; PM = gentle retinoid
-
People with melasma, acne marks, or hyperpigmentation benefit most from consistent brightening serums paired with daily sun protection
-
Patch test new serums on your jawline for 2 weeks before full-face application
-
Introduce one new product at a time to identify irritation sources
Step 5: Moisturizer To Seal In Hydration & Support The Skin Barrier
Moisturizer locks in everything you’ve applied, smooths skin texture, and reinforces the skin barrier so light reflects more evenly. Skipping this step—even if you have oily skin—undermines your entire glass skin routine.
Choosing texture by skin type:
|
Skin Type |
Best Moisturizer Texture |
Key Ingredients |
|
Oily/combination |
Lightweight gel or lotion |
Hyaluronic acid, niacinamide |
|
Dry/mature |
Rich cream |
Ceramides, shea butter, squalane |
|
Acne-prone |
Non-comedogenic, minimalist |
Centella, green tea |
|
Sensitive |
Fragrance-free, barrier-repair |
Ceramides, panthenol |
Beneficial ingredients for glass skin:
-
Ceramides, cholesterol, and fatty acids (restore barrier function)
-
Squalane and shea butter (lock in moisture)
-
Centella asiatica and green tea (calm inflammation)
-
Snail mucin and panthenol (popular K beauty ingredients for hydration and repair)
Application guidance:
-
Apply after serums (and after retinoids at night)
-
Use gentle upward motions; avoid tugging skin
-
Apply to neck and chest for consistent care
-
Use your ring finger around delicate areas
Slugging technique: For very dry or damaged barriers, applying an occlusive layer (like petrolatum or aquaphor) over moisturizer at night can dramatically boost hydration. However, acne-prone users should avoid this technique or use it sparingly, as it can trap bacteria.
A strong, healthy skin barrier is non-negotiable for sustainable glass skin.
Step 6: Daily SPF For Long-Term Glass Skin
Here’s the uncomfortable truth: UV exposure is the main external cause of premature aging, dullness, hyperpigmentation, and dark spots. Without daily sun protection, everything else in your routine is essentially damage control.
SPF essentials:
-
Use broad-spectrum SPF 30-50+ every morning, year-round
-
Apply even on cloudy days and when working indoors near windows
-
UV rays penetrate glass and clouds
Mineral vs. chemical sunscreens:
-
Mineral (zinc oxide, titanium dioxide): Sits on skin surface, reflects UV. Can leave white cast on darker skin tones.
-
Chemical filters: Absorb into skin, convert UV to heat. Often more cosmetically elegant.
-
The best sunscreen is whichever one you’ll actually use consistently
Glass skin-friendly sunscreen features:
-
Lightweight, non-greasy textures
-
Hydrating formulas with hyaluronic acid or niacinamide
-
No white cast (look for “invisible” or tinted options)
-
Products like Joseon Relief Sun are popular in K beauty for their dewy finish
Application tips:
-
Apply a 2-finger length amount for face and neck
-
Apply 15 minutes before sun exposure
-
Reapply every 2 hours if outdoors
-
Layer over moisturizer, under makeup
SPF is what allows vitamin C and other brightening actives to work effectively. It prevents new hyperpigmentation from forming while you treat existing dark spots. No SPF, no lasting glassy skin.
How to get glass skin naturally at home (Lifestyle & Habits)
Skincare products are only part of the equation. Your lifestyle habits directly influence how quickly you achieve results and how sustainable your glass skin glow becomes.
Hydration:
-
Aim for 8+ glasses of water daily (adjust based on activity level and climate)
-
Limit excessive alcohol and caffeine, which dehydrate skin from within
-
Hydrated skin reflects light better and looks plumper
Diet:
-
Prioritize antioxidant-rich foods: berries, leafy greens, tomatoes
-
Include omega-3 fatty acids from salmon, walnuts, chia seeds for a balanced diet
-
Eat vitamin C-rich fruits (citrus, strawberries, kiwi) to support collagen production
-
Limit high-sugar, ultra-processed foods that worsen glycation and breakouts
-
A healthy lifestyle shows on your skin
Sleep:
-
Aim for 7-9 hours nightly for optimal skin health
-
Peak skin repair occurs around 11pm-2am
-
Consistent sleep schedule matters more than occasional long sleeps
-
Sleep deprivation increases cortisol, which triggers inflammation and breakouts
Stress management:
-
Chronic stress hormones drive acne, redness, and dull skin
-
Practical tools: daily walks, journaling, meditation, breathwork
-
Even 10 minutes of stress reduction daily can impact complexion
Gentle home remedies:
-
Aloe vera gel: Soothing and hydrating (but not a replacement for proper moisturizer)
-
Honey masks: Natural humectant with antibacterial properties
-
Green tea compresses: Antioxidant boost and calming effect
-
Apply a sheet mask 1-2x weekly for extra hydration boost
These support your routine but don’t replace clinically tested actives and proper skincare products.
FAQ – Glass Skin : délais, différences & astuces
1. How long does it take to get glass skin?
Most people see:
-
2–4 weeks → glow & better hydration
-
6–8 weeks → clearer, more even tone
-
3–6 months → smoother texture & faded hyperpigmentation
-
6–12 months → improvement of deeper scars (with pro care)
Your skin renews itself every 28–60 days, so patience is key.
2. Why does skin cell turnover matter?
Your skin naturally regenerates every 28 days (slower with age).
That’s why visible, long-lasting glass skin takes several cycles to appear.
3. What affects how fast you see results?
-
Age & genetics
-
Starting skin condition (acne, scars, dryness)
-
Routine consistency
-
Sun exposure & daily SPF
-
Diet, sleep & stress
4. Realistic glass skin timeline
| Goal | Timeline | Key Products |
|---|---|---|
| Soft glow & hydration | 2–3 weeks | Toner, moisturizer, SPF |
| Fade acne marks | 8–12 weeks | Vitamin C, niacinamide, SPF |
| Smoother texture | 3–6 months | Retinol, gentle exfoliation |
| Overall glow | 3–6 months | Full routine consistency |
| Deep scars | 6–12 months | Pro treatments + home care |
5. 🇰🇷 What is Korean glass skin vs Western glow?
Korean glass skin
-
Multi-step layering
-
Prevention-first
-
Barrier repair
-
Natural hydration glow
Western glow
-
Often makeup-based (highlighter)
-
Strong actives
-
Less focus on barrier health
K-beauty hero ingredients
-
Rice extract
-
Snail mucin
-
Centella asiatica
-
Fermented ingredients
-
Low-pH cleansers
6. Can makeup fake glass skin?
Yes, while your skincare works:
-
Use hydrating toner + serum + moisturizer
-
Choose sheer, dewy foundation
-
Apply with damp sponge
-
Use cream highlighter
-
Minimal powder (T-zone only)
-
Finish with dewy setting spray